Advice for Brides and Grooms: Reception Seating
I was lucky enough to partner with wedding stationery designer, the Dandelion Patch on a video advice project with top DC wedding planners to provide tips to brides & grooms in the throws of wedding planning. For a series of 4 posts, I’m going to more thoroughly break down what I briefly speak about in that video. Check out my first post which was about planning to eat the morning of your wedding.
This post is all about how your wedding guests want you – natch – need you to make a seating plan for your wedding reception. Wedding guests do not like open seating. It {generally} causes them stress: where will they sit? Who will they sit with? Will they end up in a bad location? Why not eliminate this stress for your closest family and friends if you can?
If you are set on open seating for your wedding, or are having a very casual wedding, then you MUST over-seat the event – this means that you need to have at least 10% of “extra” seats available to your guests. If you are expecting 100 wedding guests, you need to have at a minimum 110 seats at your wedding – a 20% over-seat would be better.
I’m going to break down your seating planning options now. I’m including a review of common wedding vocabulary that you might not be as familiar with.
Seating charts: A large poster, chalkboard or other kind of sign that would list your wedding guests alphabetically by last name and note which table number they will be seated at. Please do not organize the guest names by table, it will frustrate your guests when they are trying to find their seating assignment. This format isn’t the best if you are planning to use table names, unless the table names are quite short. Most printers can produce this for you within 24 hours, so it will be a last minute task for you to manage.


Photo credits: top: Deb Lindsey; bottom: Lisa Boggs.
Escort Cards: This card assigns your wedding guest to a table, but not a seat, at your wedding reception. This is the most common way for brides and grooms to direct their guests to their reception seating. These cards are typically displayed on a table top, but there are other, more interesting ways to incorporate them into your decor. Escort cards should be organized alphabetically by last name. You can have them printed with the names only a few weeks out from the wedding, and add the table number by hand to the back or inside. If every guest is eating the same entree (aside from the occasional vegetarian/vegan/gluten free), you can create just one card per couple, rather than one card per guest. More on this below.


Photo credits: Top: Michelle Lindsay. Second: Lisa Boggs. Third: Kurstin Roe. Bottom: MK McKenna.
Entree Designation: If you are doing on escort cards, and have a choice-in-advance entree, AND don’t plan on doing place cards, you will need to create one escort card per wedding guest (rather than one per couple) with a designation showing the entree choice on the escort card. Your reception emcee should make an announcement at the start of dinner asking guests to place these cards on the table, so that the catering staff can quickly serve the entree course.

Photo credit: Kurstin Roe
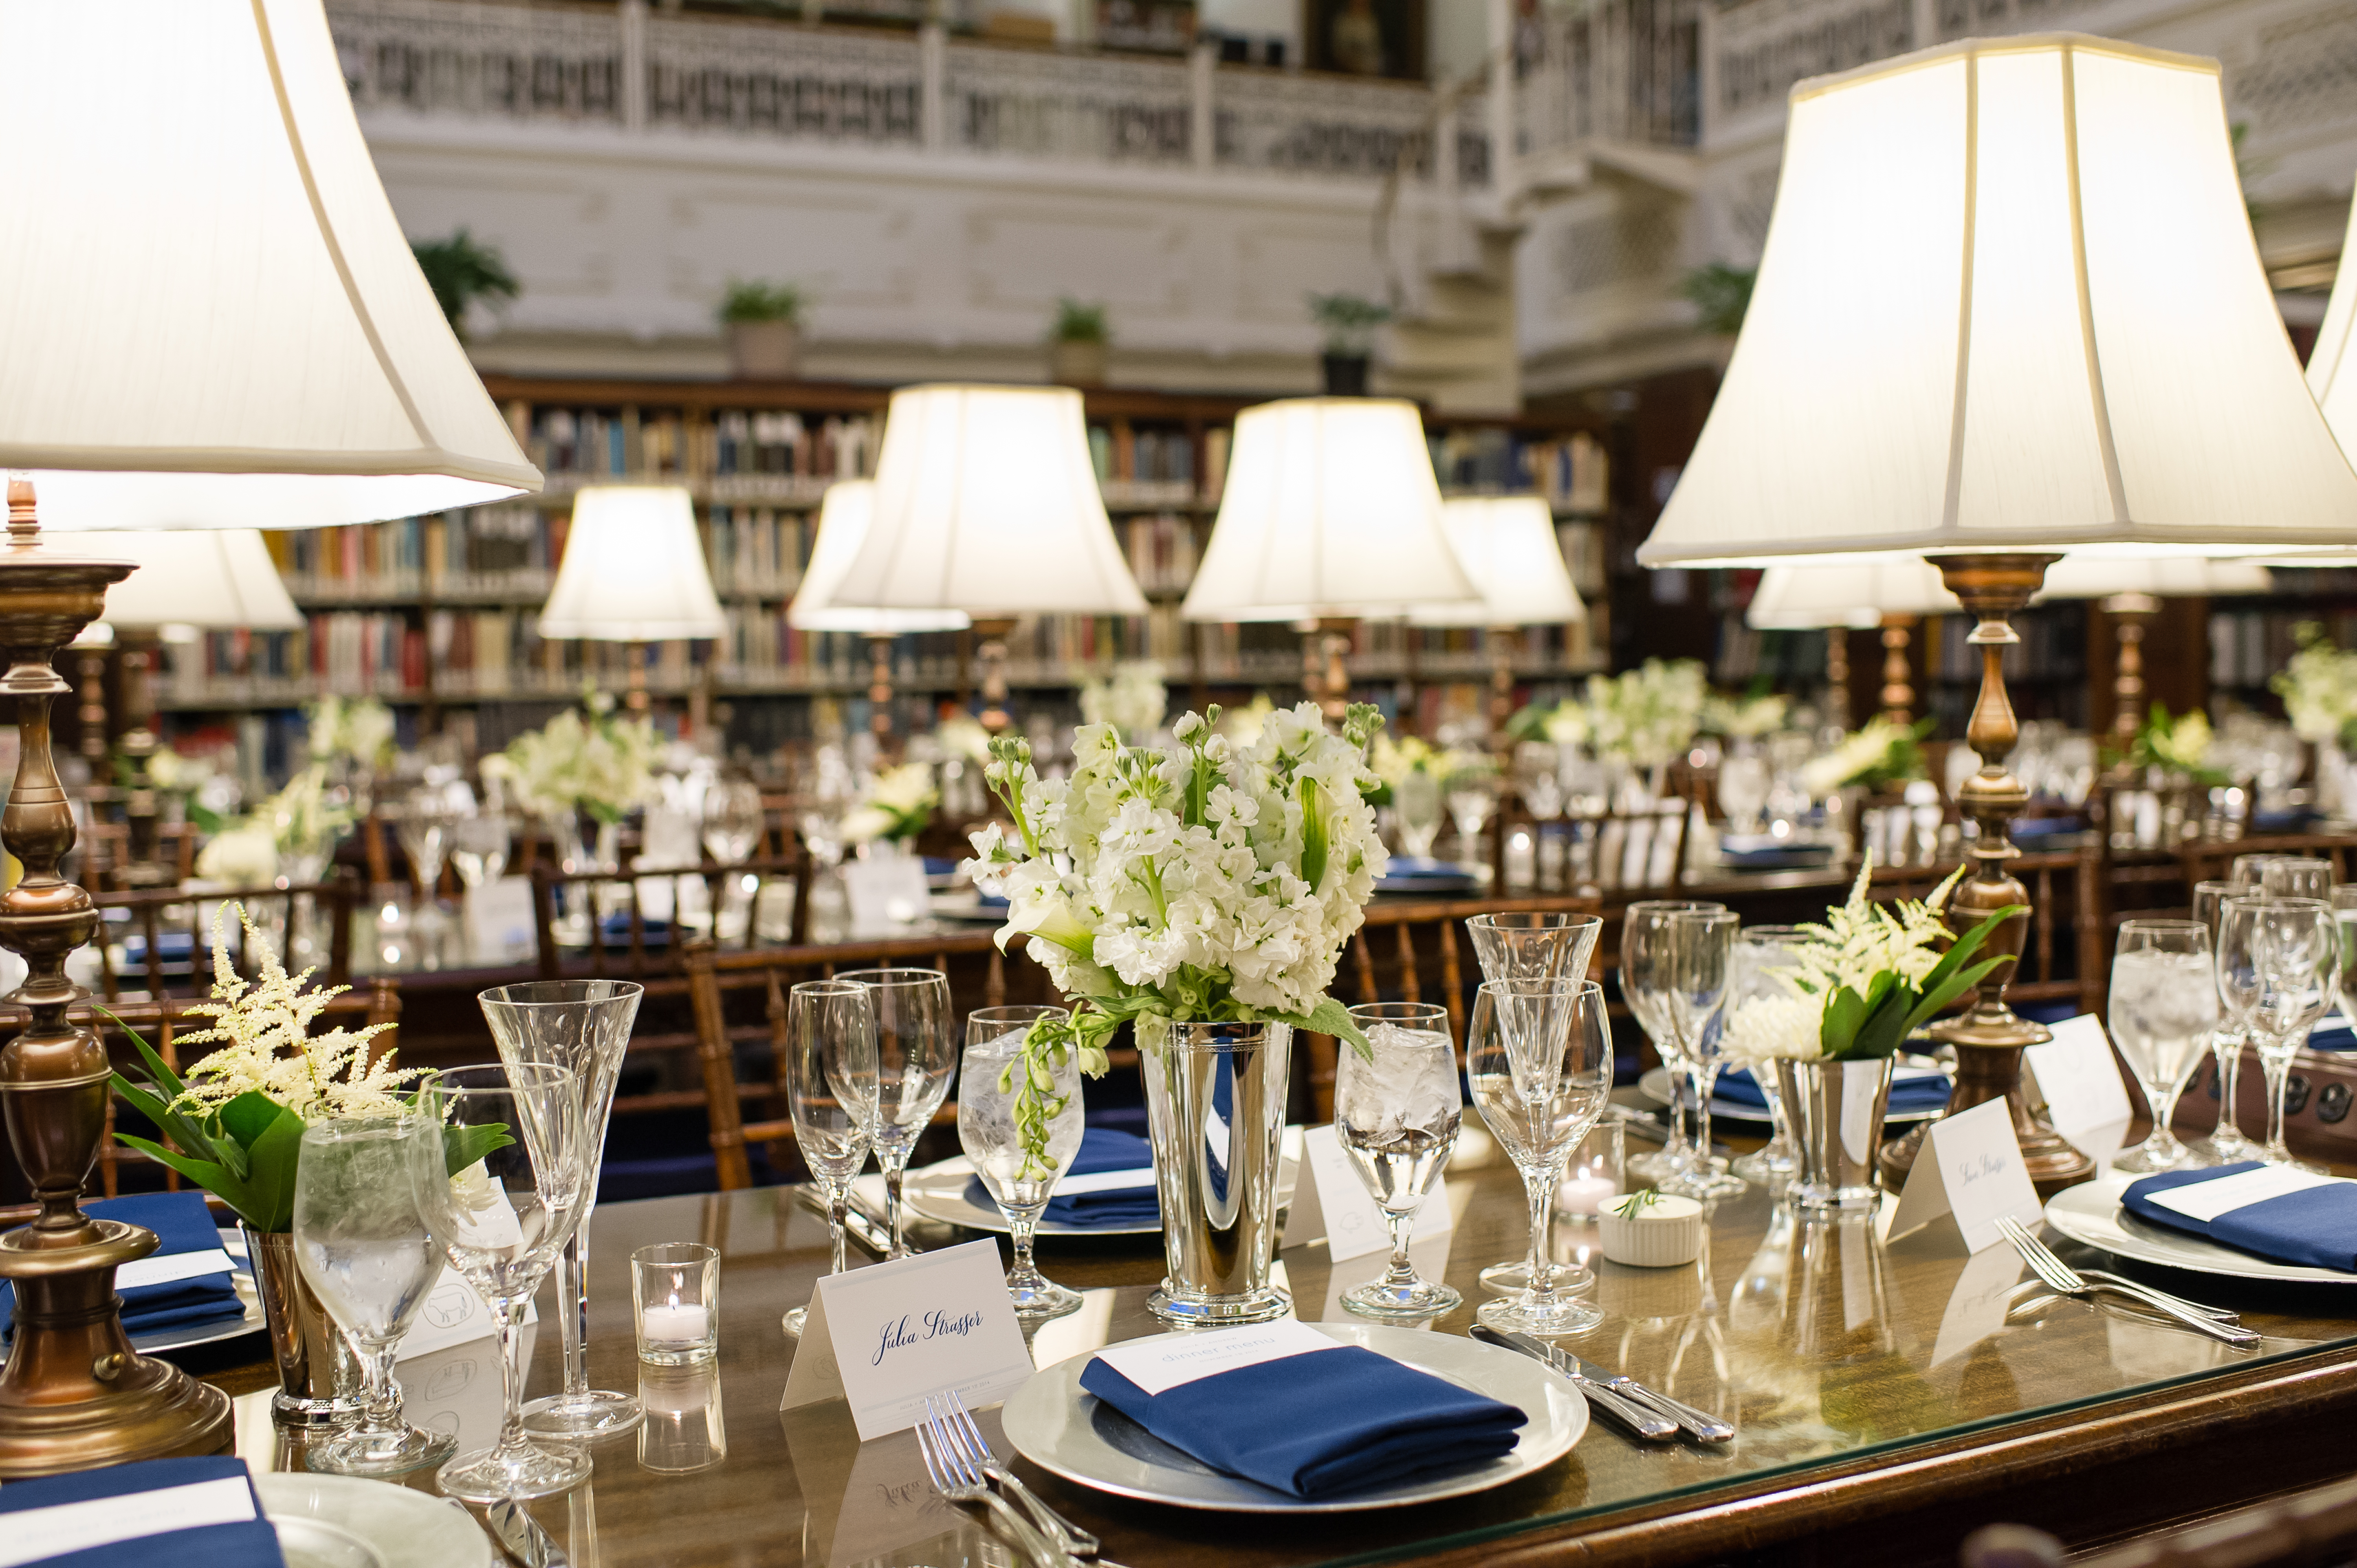
Place Cards: Place cards assign your wedding guests an actual seat at the table. This is useful to do on your head table, when you have tables that seat more than 10 guests, when you have a choice-in-advance entree, or simply need to exercise some control over the social situation at the reception table.


Photo credits: Top: You Look Lovely. Middle: Lisa Boggs. Bottom: Jess Latos.
How do you plan to execute your wedding seating plan? Do you have any questions about the information above? Leave me a comment!